Sendoso Integration
How to Setup and Use Sendoso in Playbooks
Sendoso integrates into Playbooks allowing you to send personalized gifts, branded swag, and eGifts to your prospects without leaving the platform. Use Sendoso to stand out to potential customers. By using the Sendoso feature, you can send packages anytime in your Playbooks process with a few simple clicks. While Sendoso is integrated into Playbooks, you will have to create your own account in Sendoso to be able to purchase gifts and track packages.
Enabling Sendoso in Playbooks
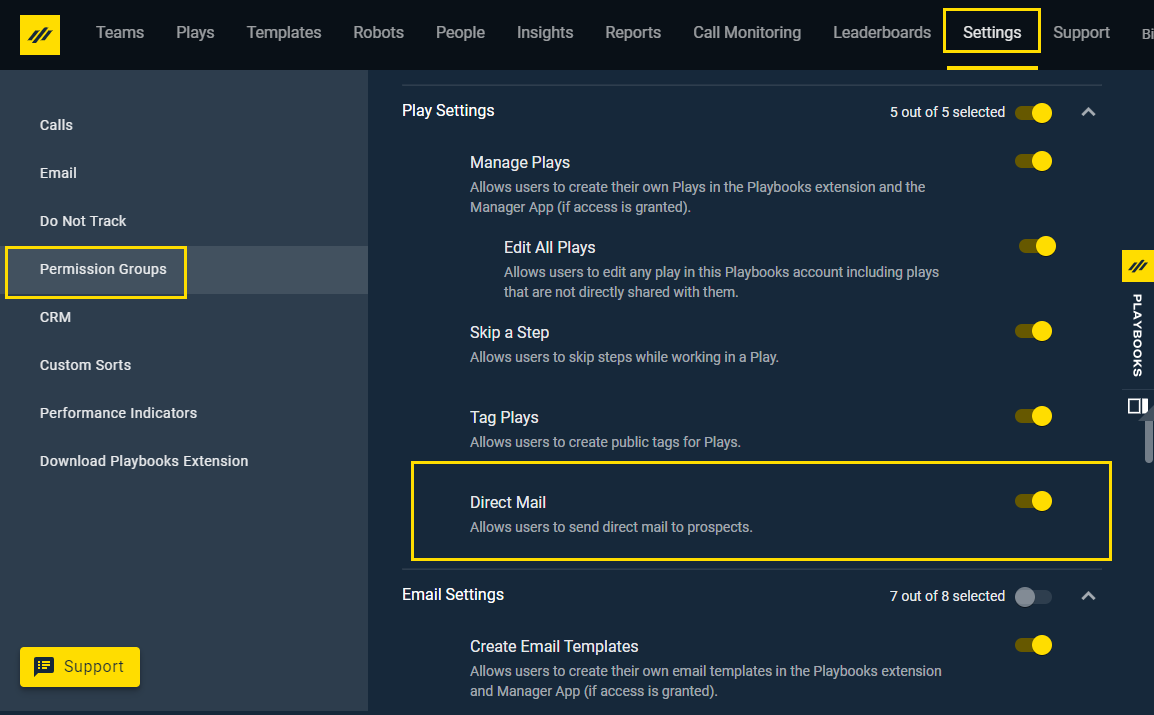
Sendoso has been integrated into Playbooks so you can send gifts, or Touches, directly from the Playbooks window. You must have the Direct Mail permission enabled before you will have access to the Sendoso button in Playbooks. If you do not have access, ask your manager or administrator about granting the required permission.
Using Sendoso in Playbooks
To start using Sendoso in Playbooks, first sign in to your Snedoso account. Signing into Sendoso in Playbooks does not give you the ability to add funds to your account or track delivery activity. To modify your account or track deliveries, visit the Sendoso site or install the Sendoso Chrome extension.

To Sign in to Sendoso in Playbooks
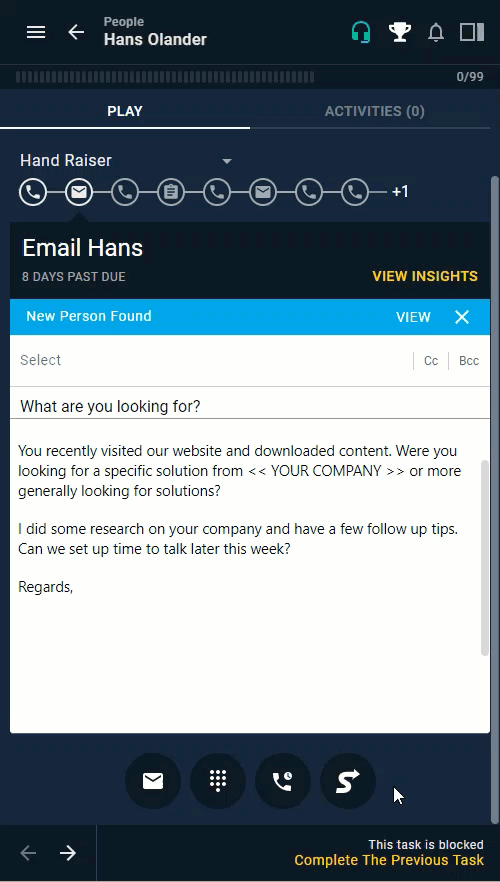
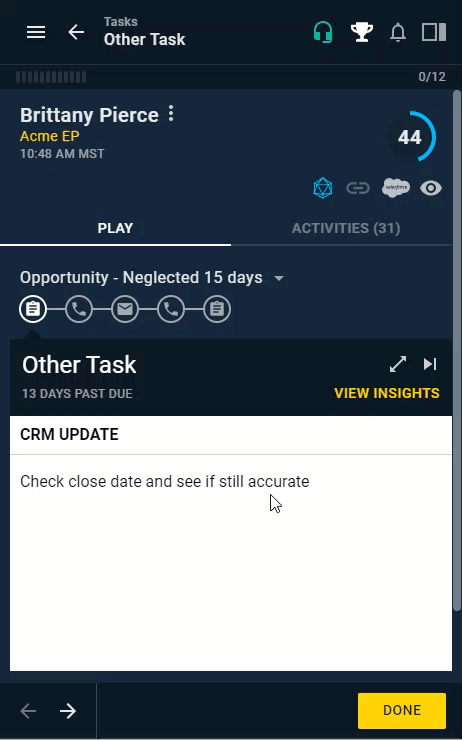
- Open an existing People, Account, or Task record.
- Click the Sendoso button.
- Click Login with your Email.
- Enter your email and password.
- Click the orange arrow.
- Click OK.
To Send a Sendoso Touch
- Open an existing People, Account, or Task record.
- Click the Sendoso button.
- Select the type of Touch you’d like to send.
- Select hour you’d like it sent.
- Select the Sendoso Template.
- Enter the text for the personalized message.
- Click Send.
Address Confirmation
Since more people are working from home, it may be confusing to figure out where to send a gift. You probably only have the customers business address in your CRM and don’t want to invade your customer’s privacy by tracking down their home address. Address Confirmation sends an email to your customer letting them know you want to send them a gift, but you need to verify the address you have on file is correct. From this email, your customer can confirm the address on file, or they can update it to another more convenient address. The information they add will only be used for that one gift send. It will not be saved for anything else.
You can also decide what you’d like to happen if recipient does not confirm their address within 2 days. You can choose to either cancel or ship the gift to the address on file.
To Send an Address Confirmation Email
- Open an existing People, Account, or Task record.
- Click the Sendoso
- Select the type of Touch you’d like to send.
- Complete steps 4 through 6 of Send a Sendoso Touch.
- Click the Ask recipient to confirm their address
- Select what you want the order to do if the customer doesn’t confirm their address; choose to either cancel the shipment or send to existing address on file.
- Click Send.
