RingCentral Setup
Are there additional setup steps I need to take if I’m using RingCentral for my telephony system?
RingCentral Call Routing
Most telephony systems integrate with Playbooks without any trouble, but some of them require additional setup to operate as expected. With RingCentral, Playbooks receives a false “successfully connected” (or 200 OK SIP) response and calls prospects prematurely. RingCentral sends this “successfully connected” message while it is still routing the call to an agent, and this causes the delay experienced by agents and prospects. Follow the diagram below to see how this works.
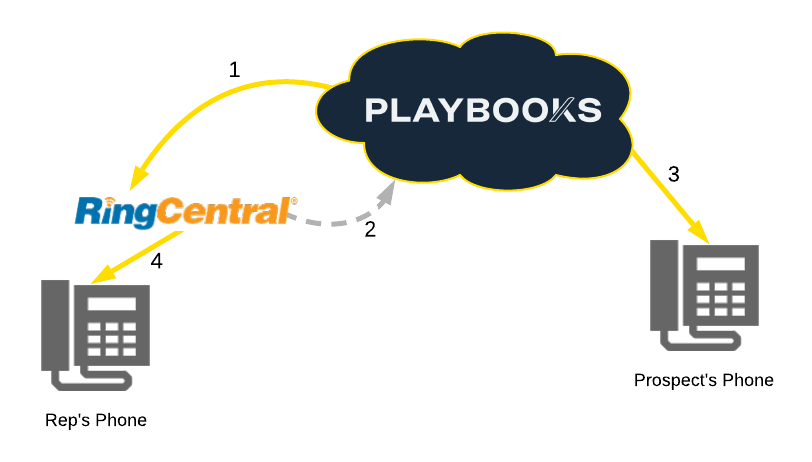
- When you click Dial, Playbooks calls RingCentral.
- While RingCentral is routing the call to you, a successfully connected message is sent to Playbooks.
- Playbooks receives that code and calls your prospect.
- RingCentral forwards the call to your station phone.
TAS Bypass Number
RingCentral can change the routing behavior for specific agents by providing them with a a TAS Bypass Number. This prevents Playbooks from receiving a “successfully connected” message, and calls route as expected.
Requesting TAS Bypass Numbers from RingCentral
First, you will need to log in to your RingCentral management portal and compile a list of the users who need TAS Bypass numbers. Once you submit your request, you can double-check each agent’s profile to ensure that they have been assigned a TAS Bypass number.
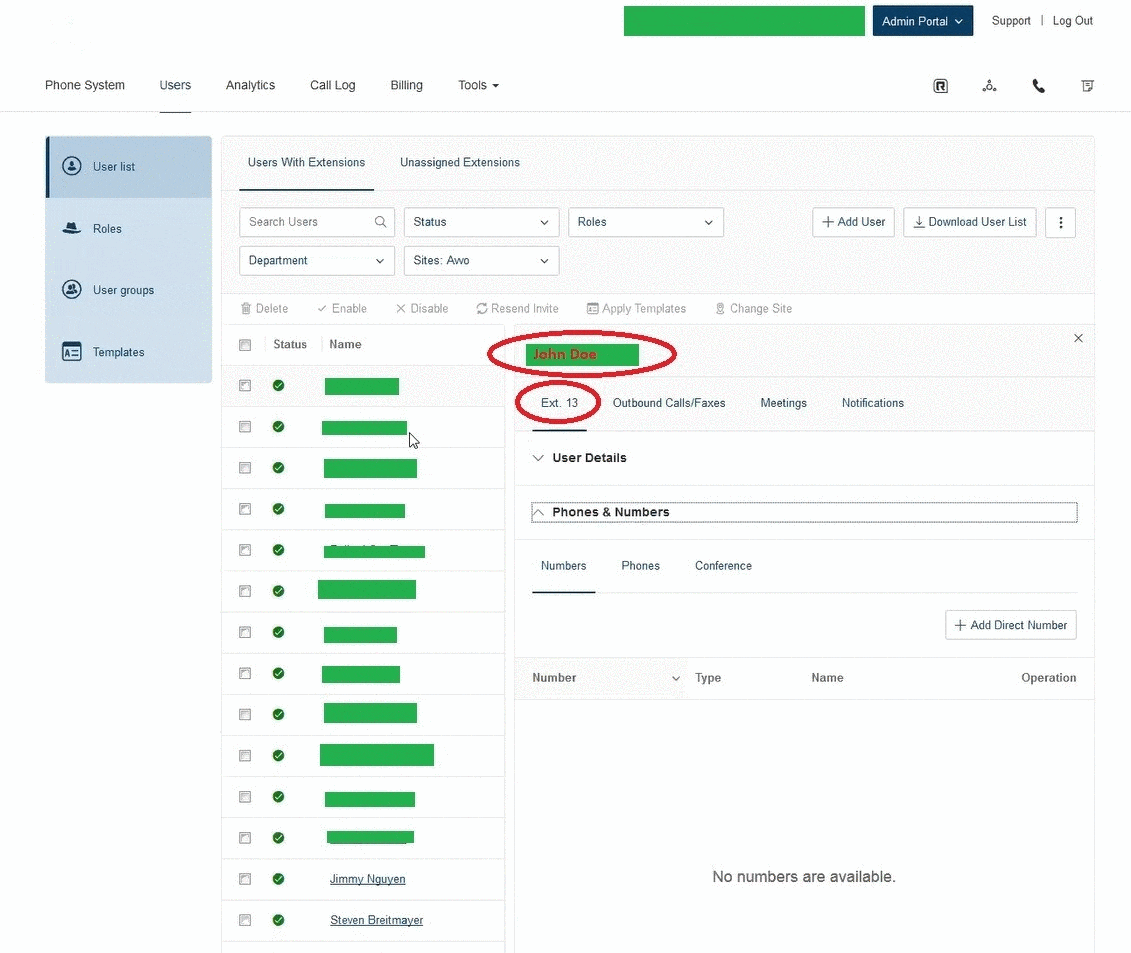
To Request a TAS Bypass Number for Your Agents
- Log in to your RingCentral Management Portal.
- Compile the list of all users and their extensions.
- Send this list to your RingCentral representative.
- Specifically ask RingCentral to provide a “TAS Bypass Number” for each entry on your list.
- After the request is completed, navigate to the RingCentral Admin Portal > Numbers tab.
- Verify that the users have 2 RingCentral numbers: the original number and the new TAS Bypass number.
Set the TAS Bypass Number as Your Agent Number
The final step in this process is to update the Playbooks agent number to match the new TAS Bypass number. If your agents have permission to edit their agent numbers, they can complete the following steps on their own, otherwise, you’ll need to update this information through the Playbooks Manager Application. You can accomplish this any of the 3 ways described below.
Use these steps if you are an agent and you know your new TAS Bypass number.
To Update Your Agent Number to Match Your TAS Bypass Number
- Open Playbooks.
- Click the menu button (XANT logo).
- Click Phone.
- Find the Agent Number section.
- Under Current agent number is, click Edit.
- Add the new TAS Bypass number.
- Click SAVE.
To Update Your Caller ID
- Follow steps 1-3 above.
- Find the Caller ID section.
- Under Current Caller ID is, click Edit.
- Select LocalPresence, Direct, or Custom Number.
- Click SAVE.
If you are an administrator, you can go to the Playbooks Manager Application Teams tab and use these steps to update agent phone numbers to match their new TAS Bypass numbers.
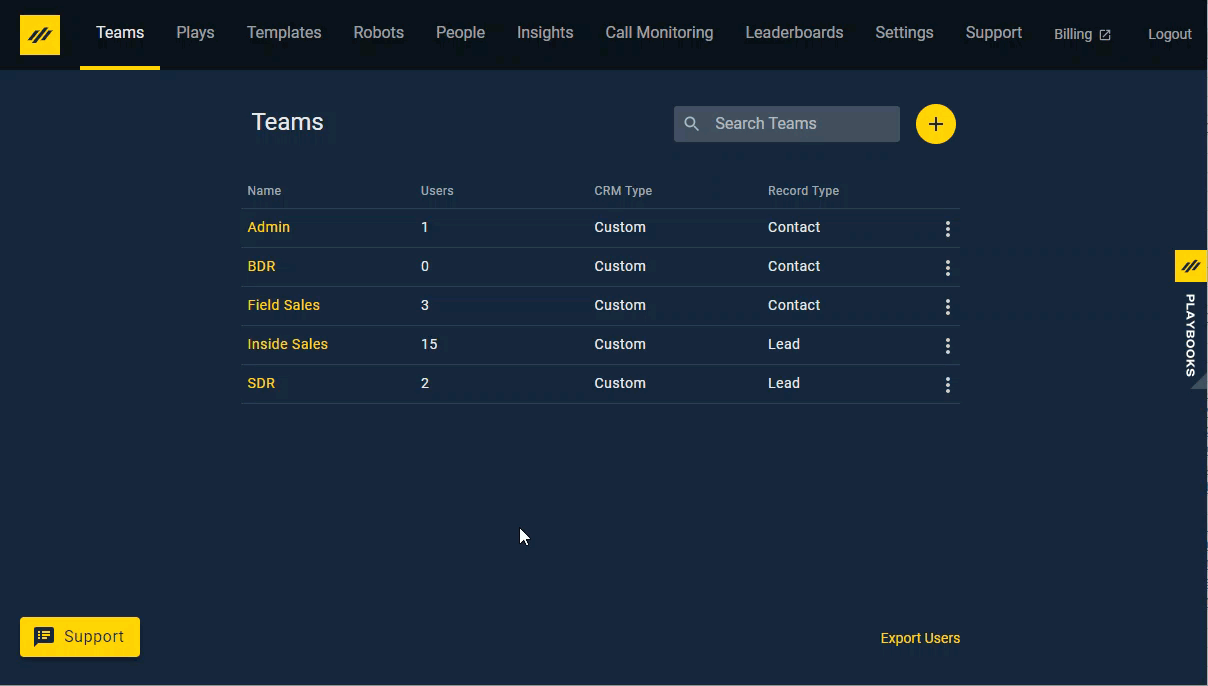
To Update Agent Numbers to Match TAS Bypass Numbers
- Open the Playbooks Manager Application.
- Click the Teams tab.
- Click on the target team name.
- Click on the target agent.
- Under Agent Number, click Change.
- Enter the new TAS Bypass number.
- Click SAVE.
To Update a Team’s Default Caller ID
- Follow steps 1-2 above.
- Click the vertical ellipsis to the right of the team name.
- Click Edit.
- Select Custom Number, Direct Number, or Local Number from the Caller Id Default drop-down menu.
- Click SAVE.
If you are an administrator, you can go to the Playbooks Manager Application People tab and use these steps to update agent phone numbers to match their new TAS Bypass numbers.
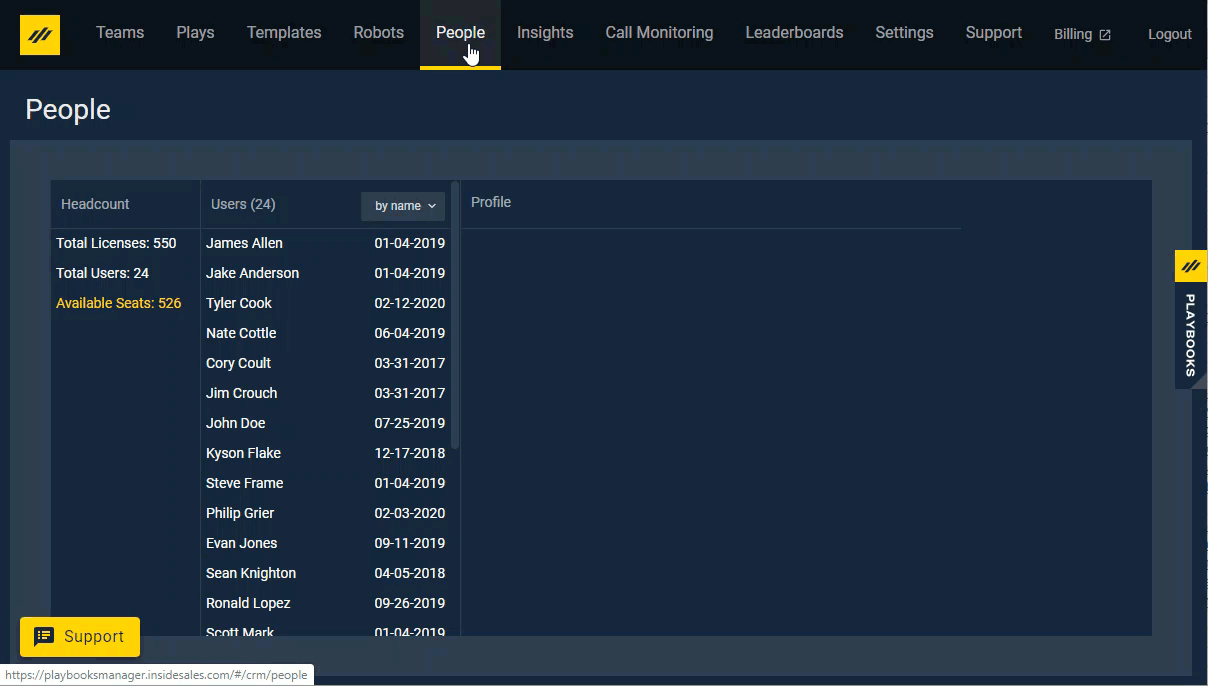
To Update Agent Numbers to Match TAS Bypass Numbers
- Open the Playbooks Manager Application.
- Click the People tab.
- Click on the target agent.
- Under Agent Number, click Change.
- Enter the new TAS Bypass number.
- Click SAVE.
Caller IDs can be updated by individual agent or team settings.
Caller ID Options
First, you will need to log in to your RingCentral management portal and compile a list of the users who need TAS Bypass numbers. Once you submit your request, you can double-check each agent’s profile to ensure that they have been assigned a TAS Bypass number.
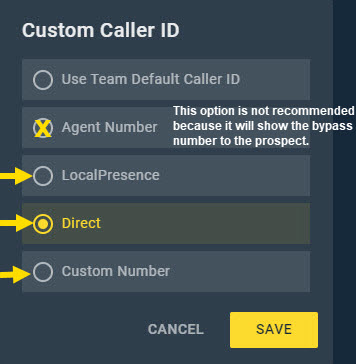
- Use Team Default Caller ID – sets the caller ID to your Playbooks Team’s default option
- LocalPresence – matches your caller ID to a prospect’s area code
- Direct – displays your DIN as your caller ID
This setting is required for Playbooks inbound queues and SMS. DINs must be purchased before they can be allocated to your agents - Custom Number– displays your old RingCentral number or any other custom number as the caller ID
RingCentral is a registered trademark of RingCentral, Inc. which is not affiliated with XANT. Please note potential changes to RingCentral technology may affect these instructions and best practices.
