Sending an Automatic Email
Schedule an email to auto-send in the future rather than sending it now
Instead of sending an email immediately, schedule the email to be automatically sent by Playbooks at a later time. In some circumstances, it is beneficial to delay an email; you can have Playbooks automatically send that email for you at a specified time.
Use Auto-Send to select a time for the email to be sent or enable SmartSend to let our analytics find the best time of day to send each email.
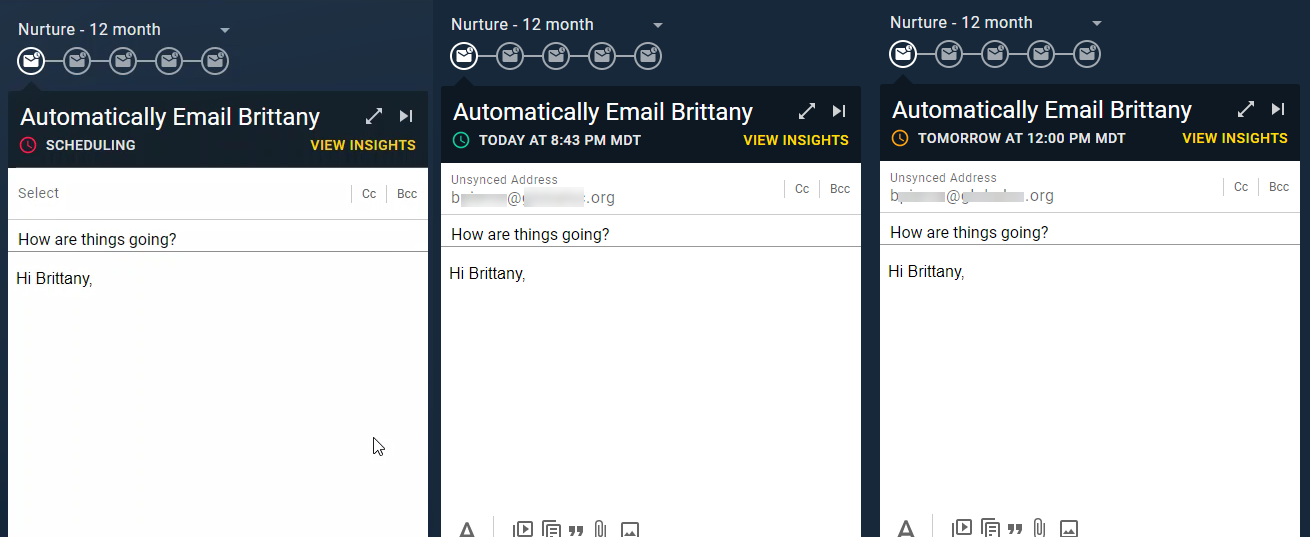
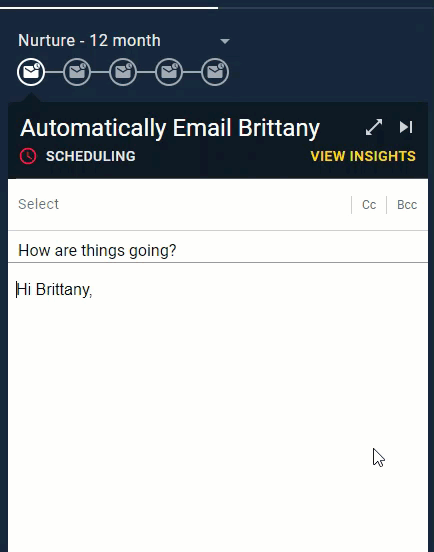
Auto-Send Email Status
The clock above the automatic email indicates the email status. Red means Playbooks is scheduling to send the email. Green means the email will be sent sometime that day. Yellow means the email has been scheduled to send at some point in the future.
If the record does not have an email address listed in Playbooks, you will receive a notification saying there is no email address and the Play step will change to an email step. This prevents Playbooks from moving on to the next step before the email is sent. Once an email address has been added to the record, the Play step will return to an automatic email.
Setting Up Automatic Emails in Play Editor
To Setup an Automatic Email in Play Editor
- Open Playbooks.
- Click the menu button (XANT logo).
- Select Plays and a new window will open.
- Navigate to the new window.
- Create a new Play or edit the desired Play.
- Select the Auto Email step.
-OR-
Select the Email step and then click Send Automatically. - Leave the setting on SmartSend or schedule a time.
- Click SAVE.
- Optionally, add wait time.
- Click CREATE or SAVE.
Sending Automatic Emails in an Email Task
To Send an Email Using Tasks
- Open an Email task or select a Person who is on an Email task.
- Click the drop-down menu by Send.
- Select Pick a Date & Time…
- Leave the setting on SmartSend or schedule a date and time.
NOTE: The email send time is based on the recipient’s time zone. - Click SCHEDULE.
Updating a Scheduled Email
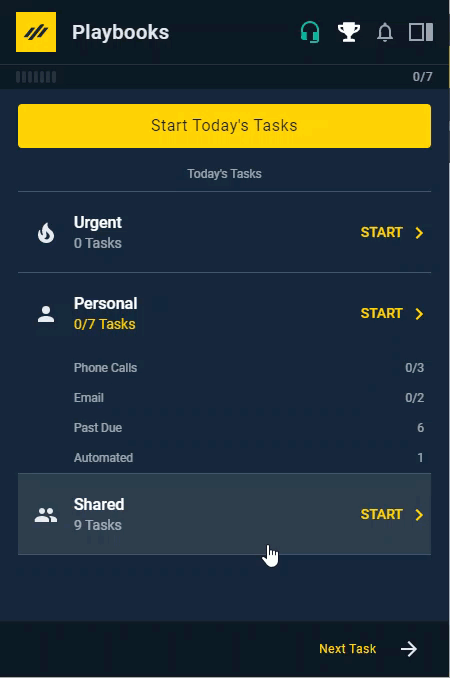
Once an email has been scheduled, it can’t be canceled or deleted, but it can be updated. All queued automated emails can be found in the Playbooks menu under Automated. From the Automated screen, you can edit an email before it sends.
To Update a Scheduled Email
- Open Playbooks.
- Click the menu button (XANT logo).
- Click Automated.
- Select the email you wish to update.
- Make any changes.
- Click UPDATE.
Attention: If a record has an email scheduled before you remove the record from Playbooks, the email will still send. Make sure you skip the scheduled email step before removing the record to avoid sending unwanted emails.
